Sigma SD9/SD10 Digital SLR Design
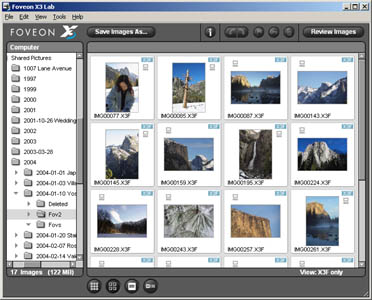
The Sigma SD9/SD10 project was a collaboration between Sigma Corporation and Foveon Inc. Foveon developed the X3 Direct Image Sensor technology, which allows CMOS imagers to sense full RGB color at each pixel. Sigma was responsible for developing all the camera controls and integration aspects of the camera. Foveon was in charge of the digital imaging, firmware and user interface on the camera, as well as the image processing application on the PC.
Reviews of the camera UI:
Imaging Resource,
Digital Photography Review,
Steve's Digicams.
Reviews of the Image Processing Application UI:
Imaging Resource,
Digital Photography Review,
Steve's Digicams.
As the lead UI designer and a developer on the project at Foveon, my responsibilities were:
- Collaborating with marketing, hardware, software & Sigma Japan
- Providing the initial camera concepts
- Researching competitor products
- Creating the user specification documents
- Running user tests
- Architecting and implementing the UI layer of the camera firmware.
Design Principles
- It is always ready to shoot
- Pressing the shutter release should always take a picture at the current settings. We cannot allow the photographer to miss out on the moment if the camera is doing something else. This include making sure we can come out of power saving modes quickly and automatically.
- No "hard" record/review modes
- A dependent criterion of the above is that there is not hard mode switching between "Camera mode" and "Review (Play) mode".
It was surprising even on some high-end DSL's that a photographer is locked out of shoot if the switch is in "Play."
Nikon D1 (2000) - with "hard" Play and shooting modes

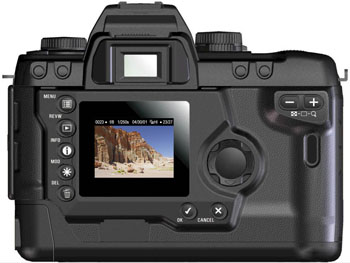
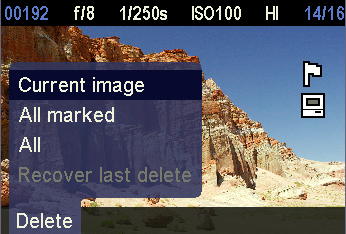
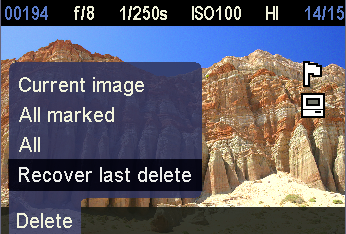
Sigma SD9 (2001) - shutter to shoot and soft Play mode - Graceful recovery - undelete image
- A user-forgiving function which some how is still not available on other cameras.
Anyone who had a small kid playing with your camera should appreciate this life-saving feature.
Undelete also worked for deleting "marked" and all pictures.
- Remember where I was last - menus
- Context and system menu remember the position the last selection, to allow quick recall
(vs. always resetting to 1st menu of the first tab like in many competitors).
This worked even after powering off the camera.
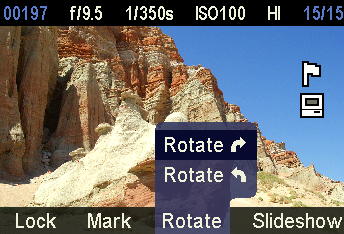
Sigma SD9 (2001) - remembering last context menu selection used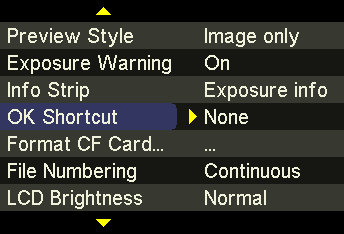
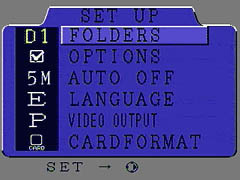
Sigma SD9 (2001) - remembering the last system menu selection used - Remember where I was last - last picture viewed
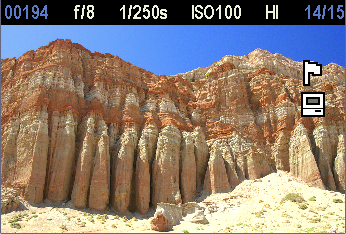
- Circa 2000, all cameras when going into "Review" mode will always displayed the last picture. This can be very frustrating if the photographer is looking at an old picture and the camera goes into power saving mode, for example. Now, the user had to spend time navigating back to find that picture again. We implemented a simple interface rule: if the shutter was released, review would always go to the last picture taken . Otherwise, display the previous pictured viewed. We made ensured this worked even if the camera was turned fully off.
- Display layout with a professional look
- Circa 2000, mono-spaced characters and block characters graphics was still the norm. We spent the time to effort to create display layouts to match the professional nature of the product.
Monospaced menu - Kodak D1 Menu (2000)
Monospaced menu - Minolta RD-3000 (2000)
Competitive Analysis
Before designing the Sigma SD9 camera, I assembled a core design team consisting of a marketing person, a UI contractor and myself. One of the first task was to do a competitive analysis of the high-end digital cameras available. We broke it down to 65 features that we need to consider in designing our UI. This was an incredible opportunity as we would have input in all the camera aspects from the ground up.

Competitive analysis of camera's features (2000)
Compared 6 high-end digital camera and broke the analysis down to 65 features points.
Camera mockups
We were able to collaborate with Sigma throughout the whole design cycle and influence the button design and layout. We started with sketches of many designs, and reduced them to 3 different potential layouts which we then mocked up as foam cores models using "spare" camera parts. Being able to hold the models helped refined the button placement and aided our test subjects in evaluating the different proposals tremendously.
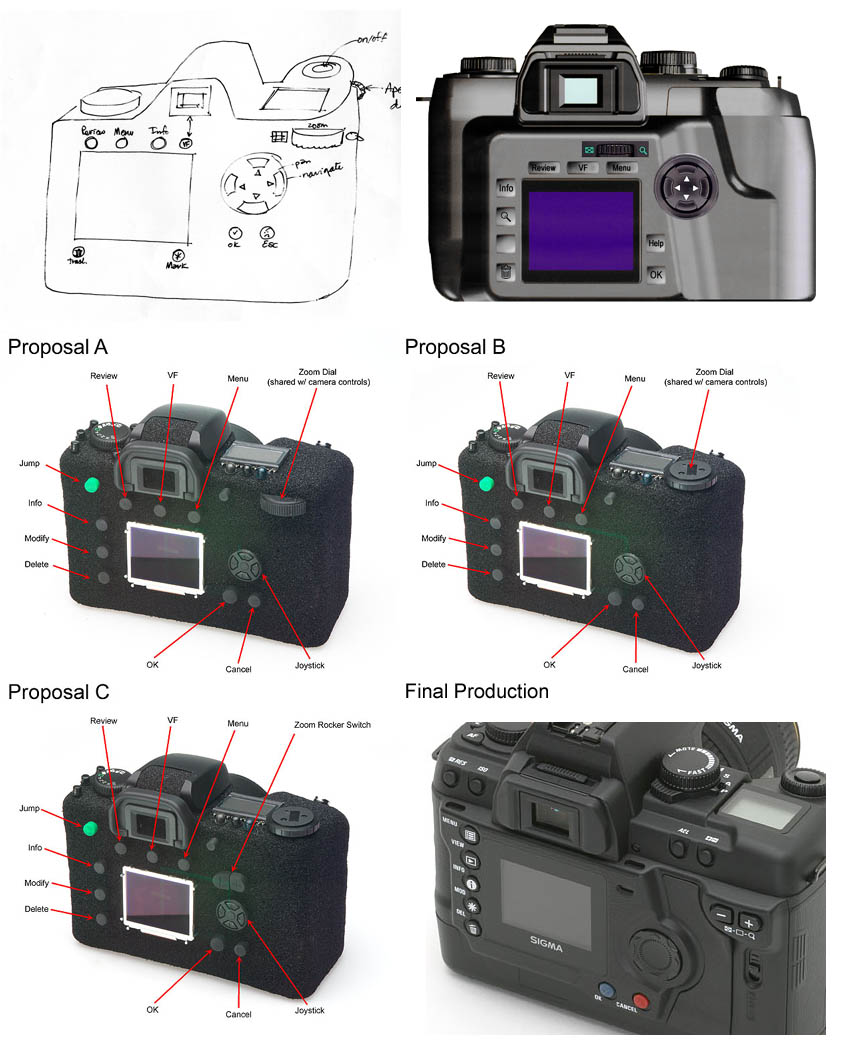
SD9 camera button layout concepts and foam core mockups
Navigation, transitions and button behaviors
One approach I have great success when designing interactions behaviors is to create a state/interaction matrix. All the possible states of the system is enumerated on one axis, while all the possible inputs (camera buttons in this case) on the other. Each cell would specify the action for that combination. The process of filling out all the cells would ensure all interactions are specified and could potentially identify issues and inconsistencies in the interface if the design "still has holes" in it.

State/interaction matrix specifying all the possible user interaction in the camera UI (click to view entire table)